Mastering Slide Masters: How to Customise Templates Like a Pro
Have you ever spent hours perfecting a PowerPoint slide only to realise you need to tweak the design on 25 other slides? Cue the collective groan. That’s where the Slide Master comes to the rescue... a secret weapon for customising templates, saving you time, energy, and perhaps a bit of your sanity.
Ready to master it? Let’s dive in!
What is the Slide Master Anyway?
In the world of PowerPoint, the Slide Master is the boss of all slides, controlling the overall look and feel of your presentation. When you make changes here—like adjusting fonts, adding logos, or tweaking layouts—those changes automatically apply to your entire deck. No more tweaking slide by slide. Imagine that!
To find it, click on View > Slide Master.
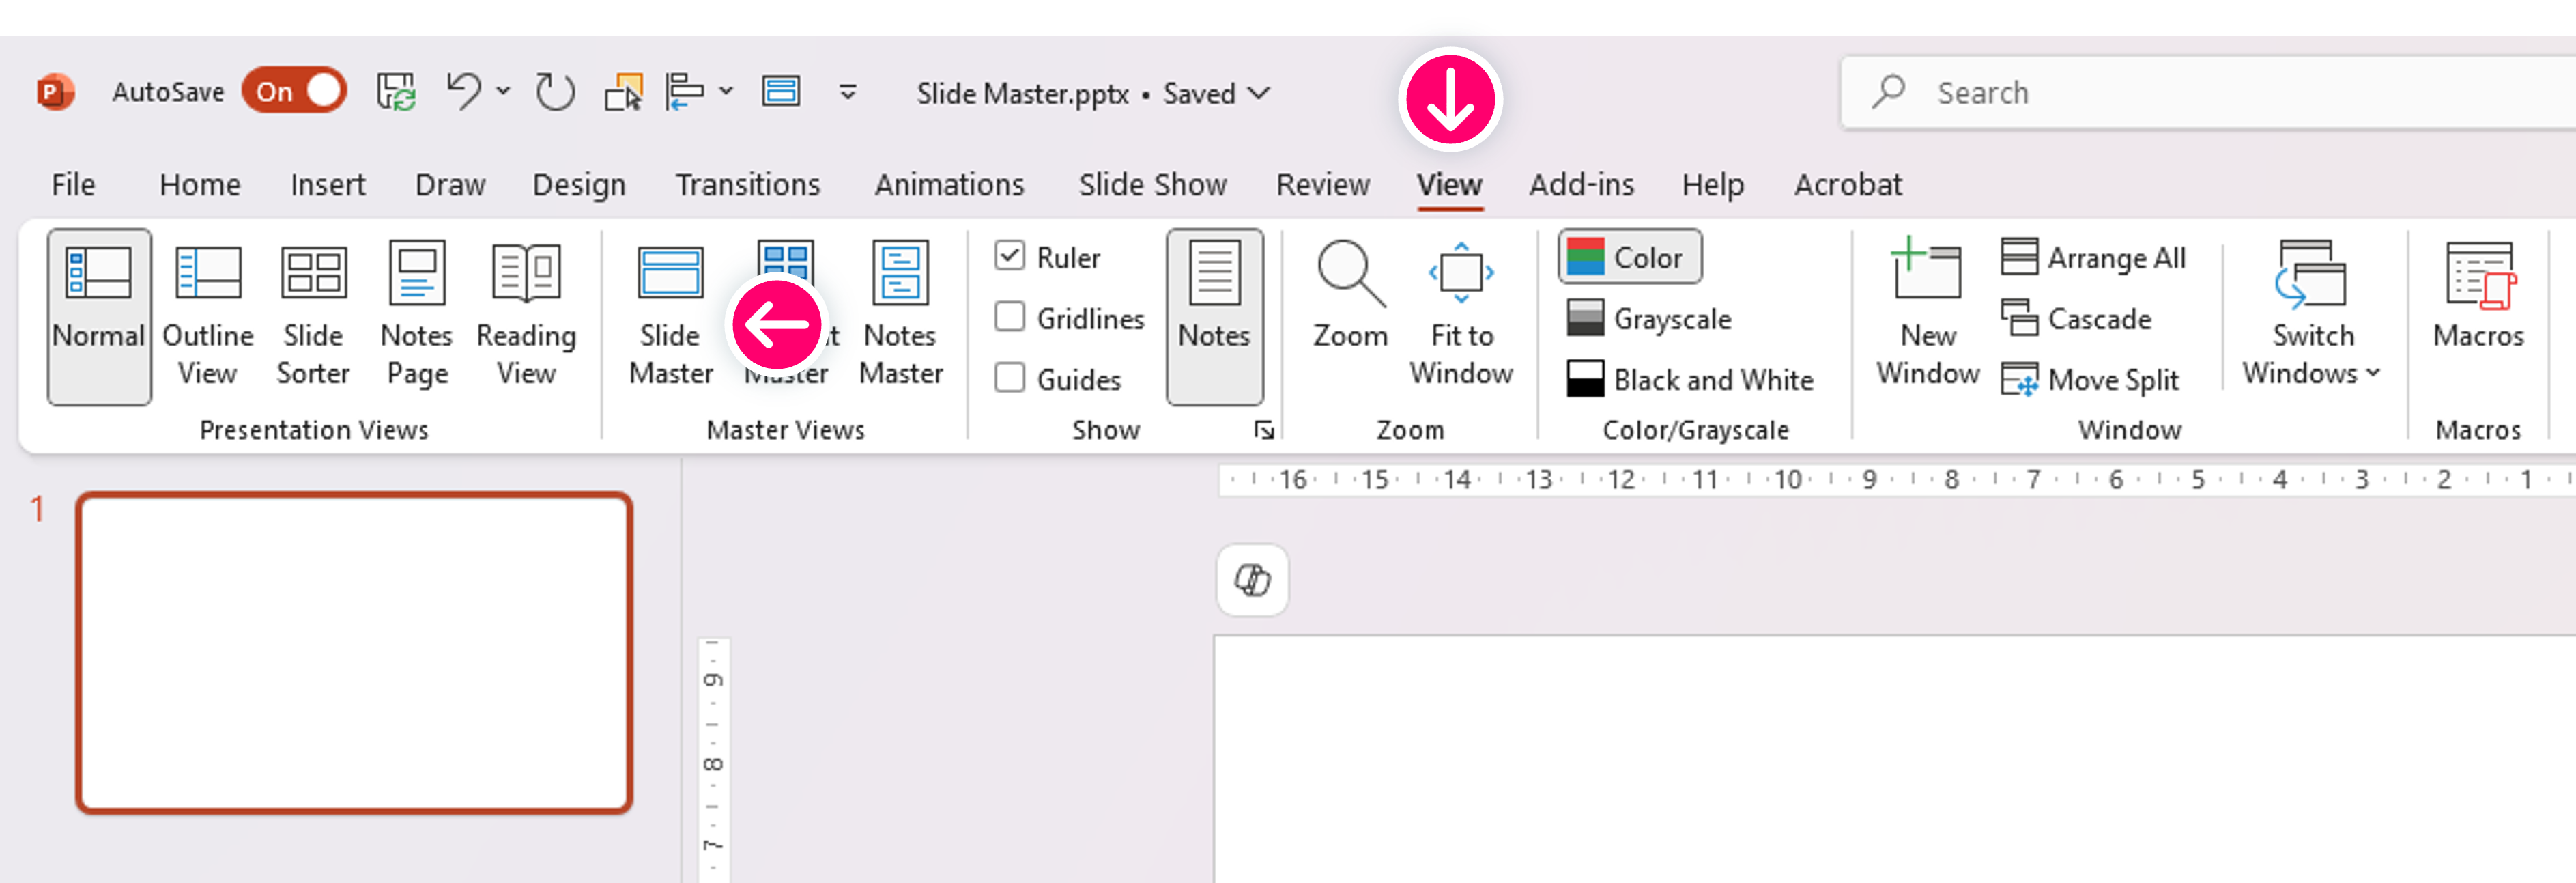
Voilà! You’ve just entered Slide Master territory.
1. Start with a Clean Slate (or Not)
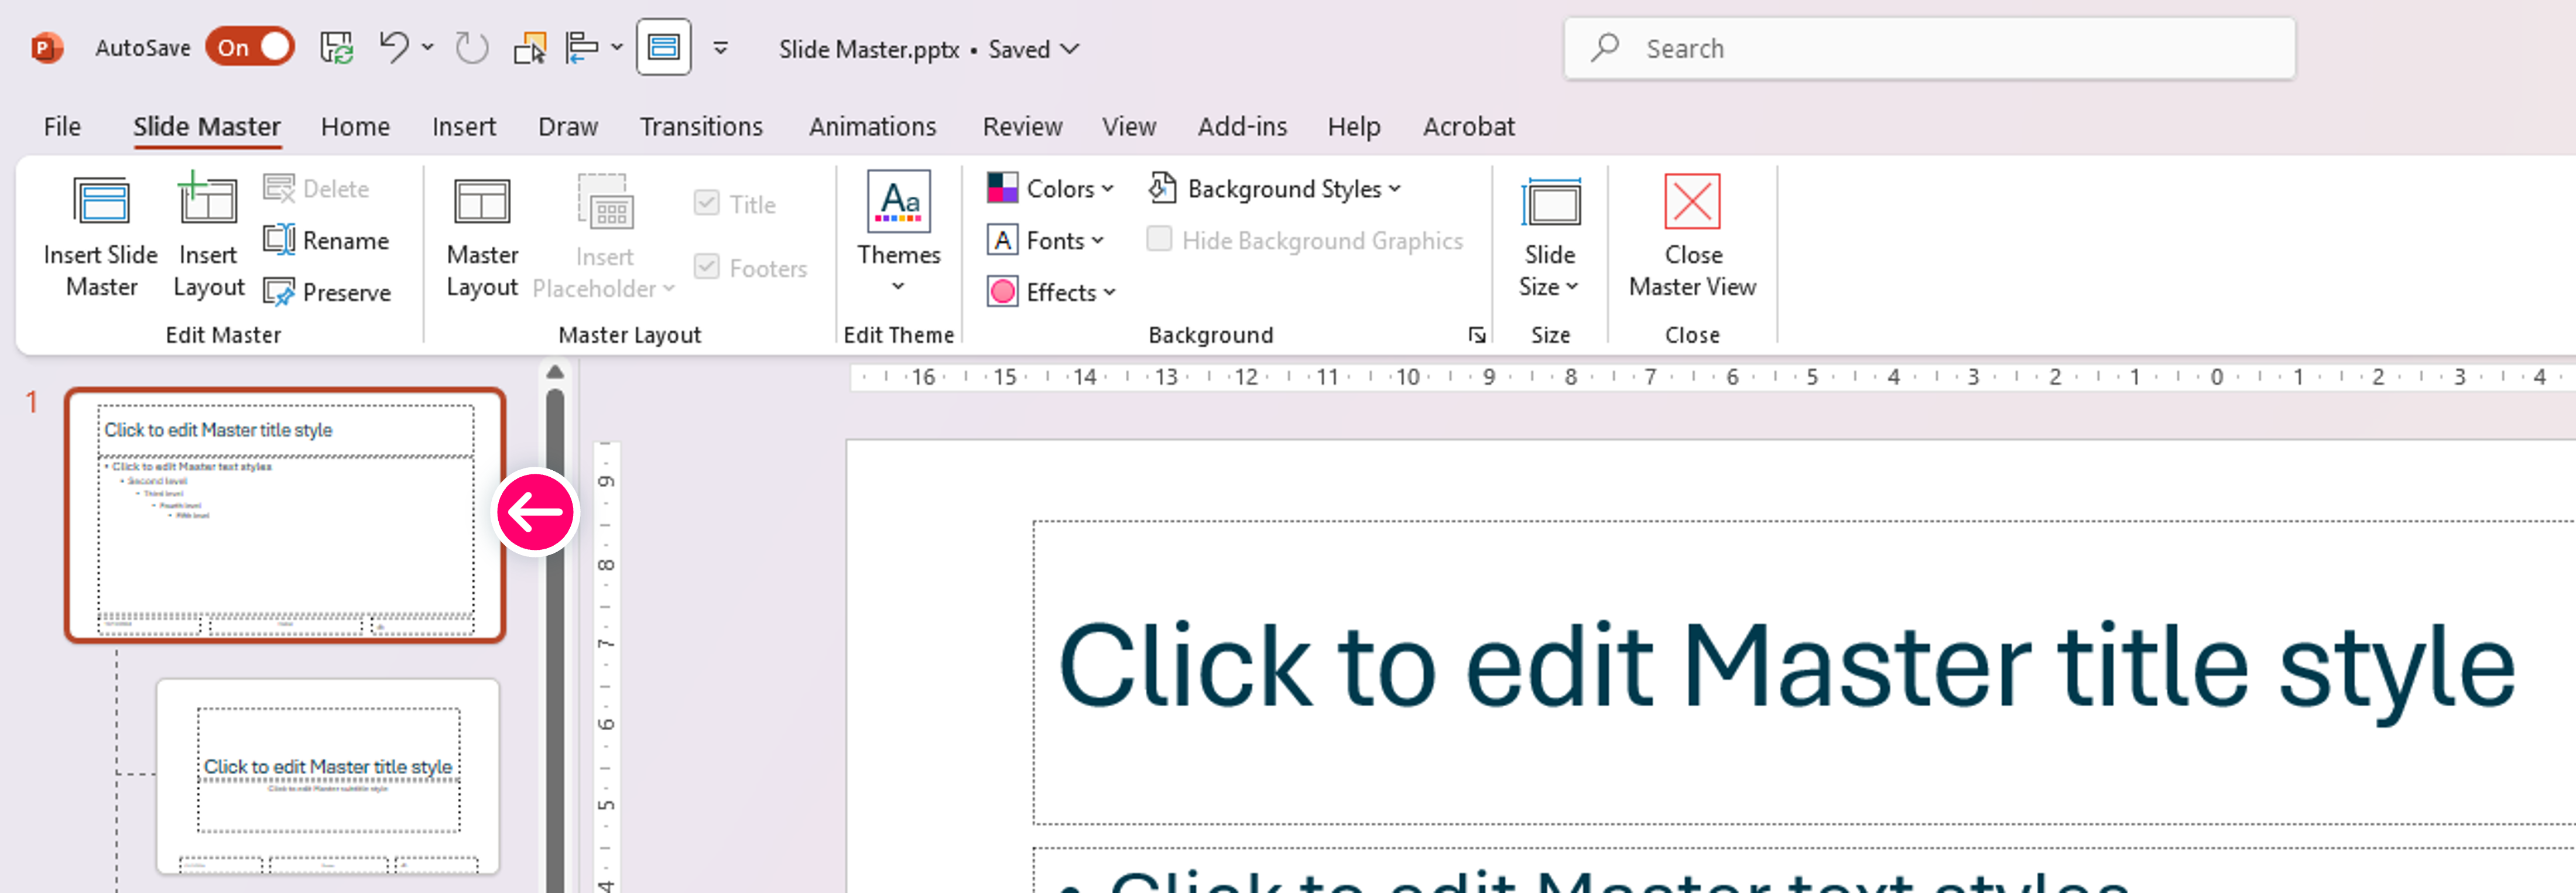
When you open the Slide Master view, you’ll notice a hierarchy: at the top is the “Master Slide,” and below are its minions, also known as “Layout Slides.” Changes made to the Master Slide trickle down to the layouts, so think of this as your chance to set the stage.
Pro Tip: Start fresh with a blank presentation or modify an existing template. If you’re using a premade template, you can still sprinkle your creative genius without wrecking the foundation.
2. Set Your Theme Colours and Fonts
Consistency is key to a professional-looking presentation. By setting theme colours and fonts in Slide Master, you ensure every slide stays on-brand. No more rogue pink text sneaking onto your professional blue-and-white slides!

Theme Colours: Click on Colors in the Slide Master tab, select a preset theme, or create your own custom palette.
Theme Fonts: Click on Fonts and choose a font pair that aligns with your style—something that won’t make your audience wish for glasses.
Fun Fact: Picking the right font can evoke different emotions. Serif fonts say “trust me,” while sans-serif shouts “modern and cool.” Comic Sans? Let’s agree it’s best left in retirement.
3. Add Your Logo or Branding Elements
Want your brand logo to appear on every slide like a stylish watermark? You’ve got it! Just drop it onto the Master Slide.
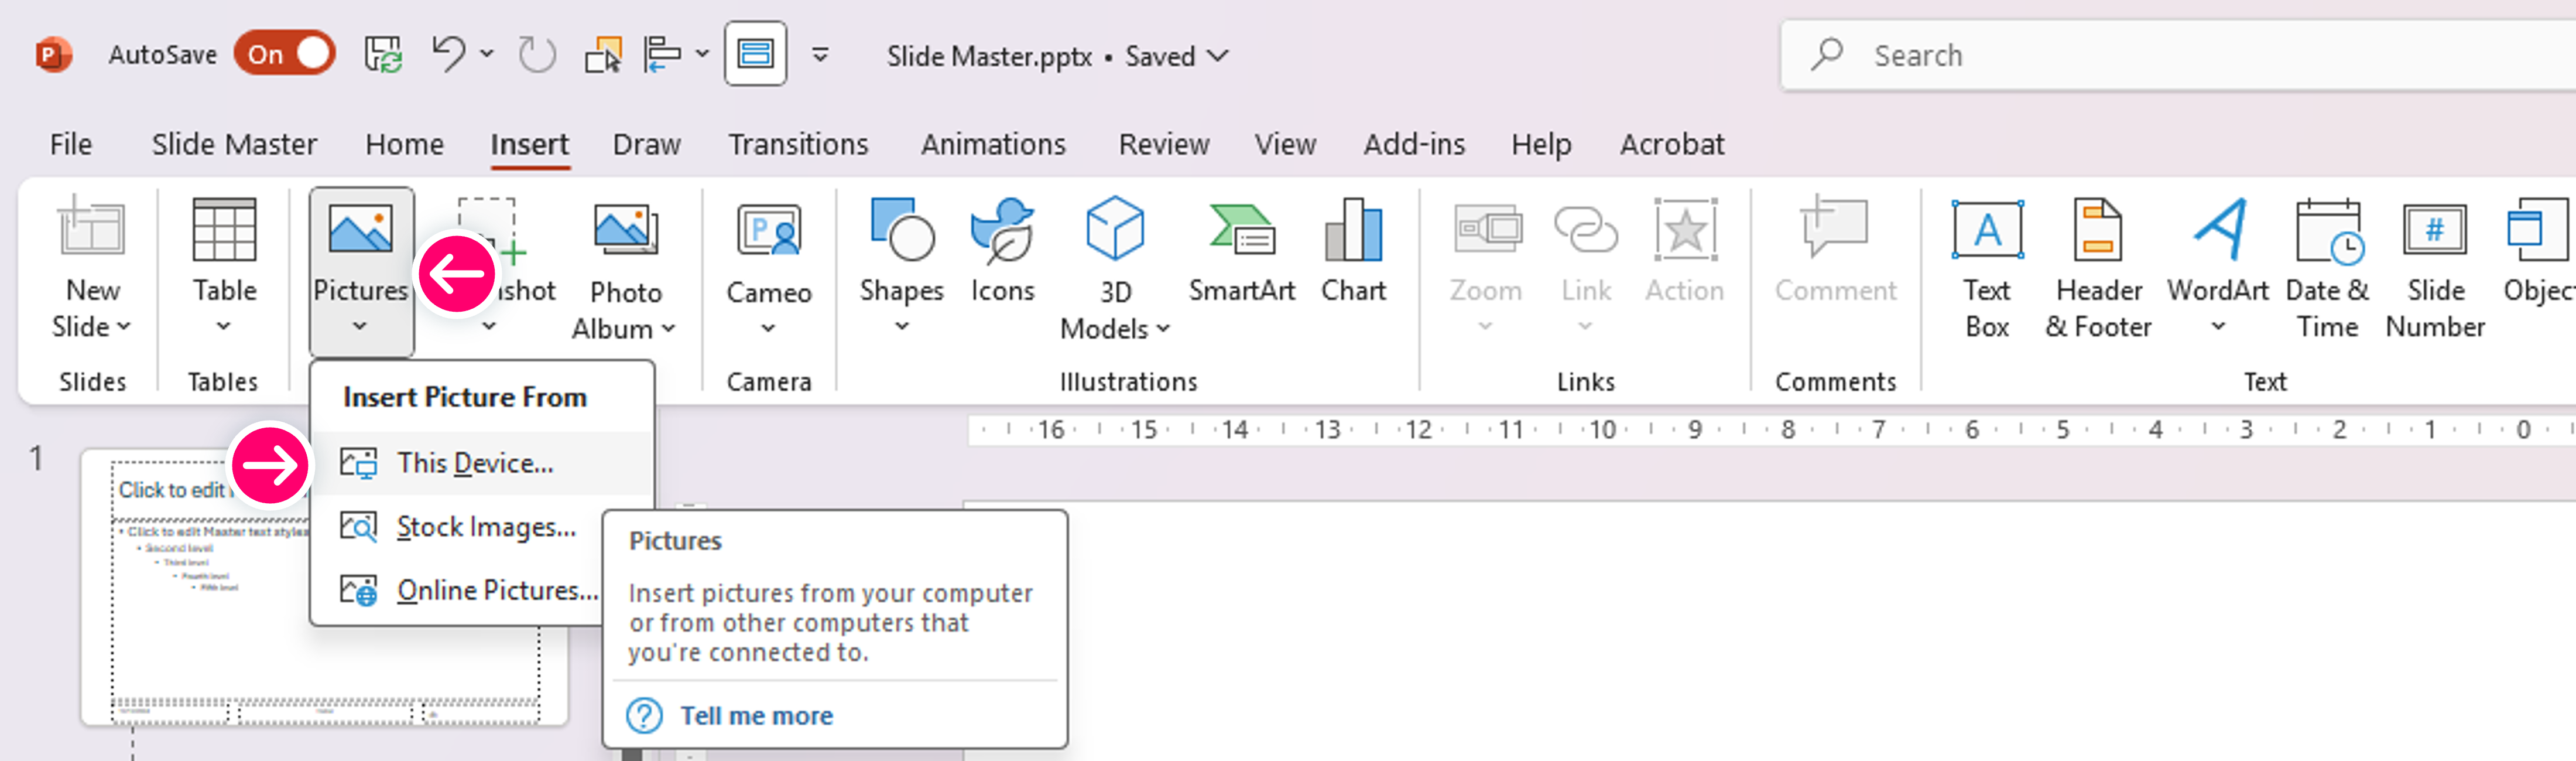
Insert your logo: Go to Insert > Pictures and place the logo where you want it.
Size and position carefully: No one wants a logo that’s so big it blocks half the text. Find a subtle, consistent spot, like a corner or footer.
Pro Tip: Use Format Picture to adjust transparency. This way, your logo will gently remind viewers of your brand without screaming “LOOK AT ME!”
4. Customise Layout Slides
Next, it’s time to fine-tune the layout slides. These are your go-to designs for things like title slides, content slides, and comparison slides. You can move placeholders, resize images, or add background elements.
Example: Want a title slide with a splash of colour and a bold headline? Add a coloured rectangle, adjust the text box, and—bam!—your title slides now exude confidence.
Remember: Only change what you need. Over-customising each layout can lead to inconsistency, and the whole point of Slide Master is maintaining consistency with ease!
5. Create Custom Layouts for Special Slides
Need something unique, like a slide to showcase a big win, a pie chart, or your favourite cat memes? Go ahead and create a new layout!
Click on Insert Layout in the Slide Master view, then add and format elements to suit your needs.
Once back in the regular editing view, you can apply this custom layout by going to Home > Layout and selecting your masterpiece from the dropdown.
6. Save Your Template for Future Glory
You’ve done the hard work—now don’t let it go to waste! Save your design as a reusable template so future you (and perhaps colleagues) can benefit.
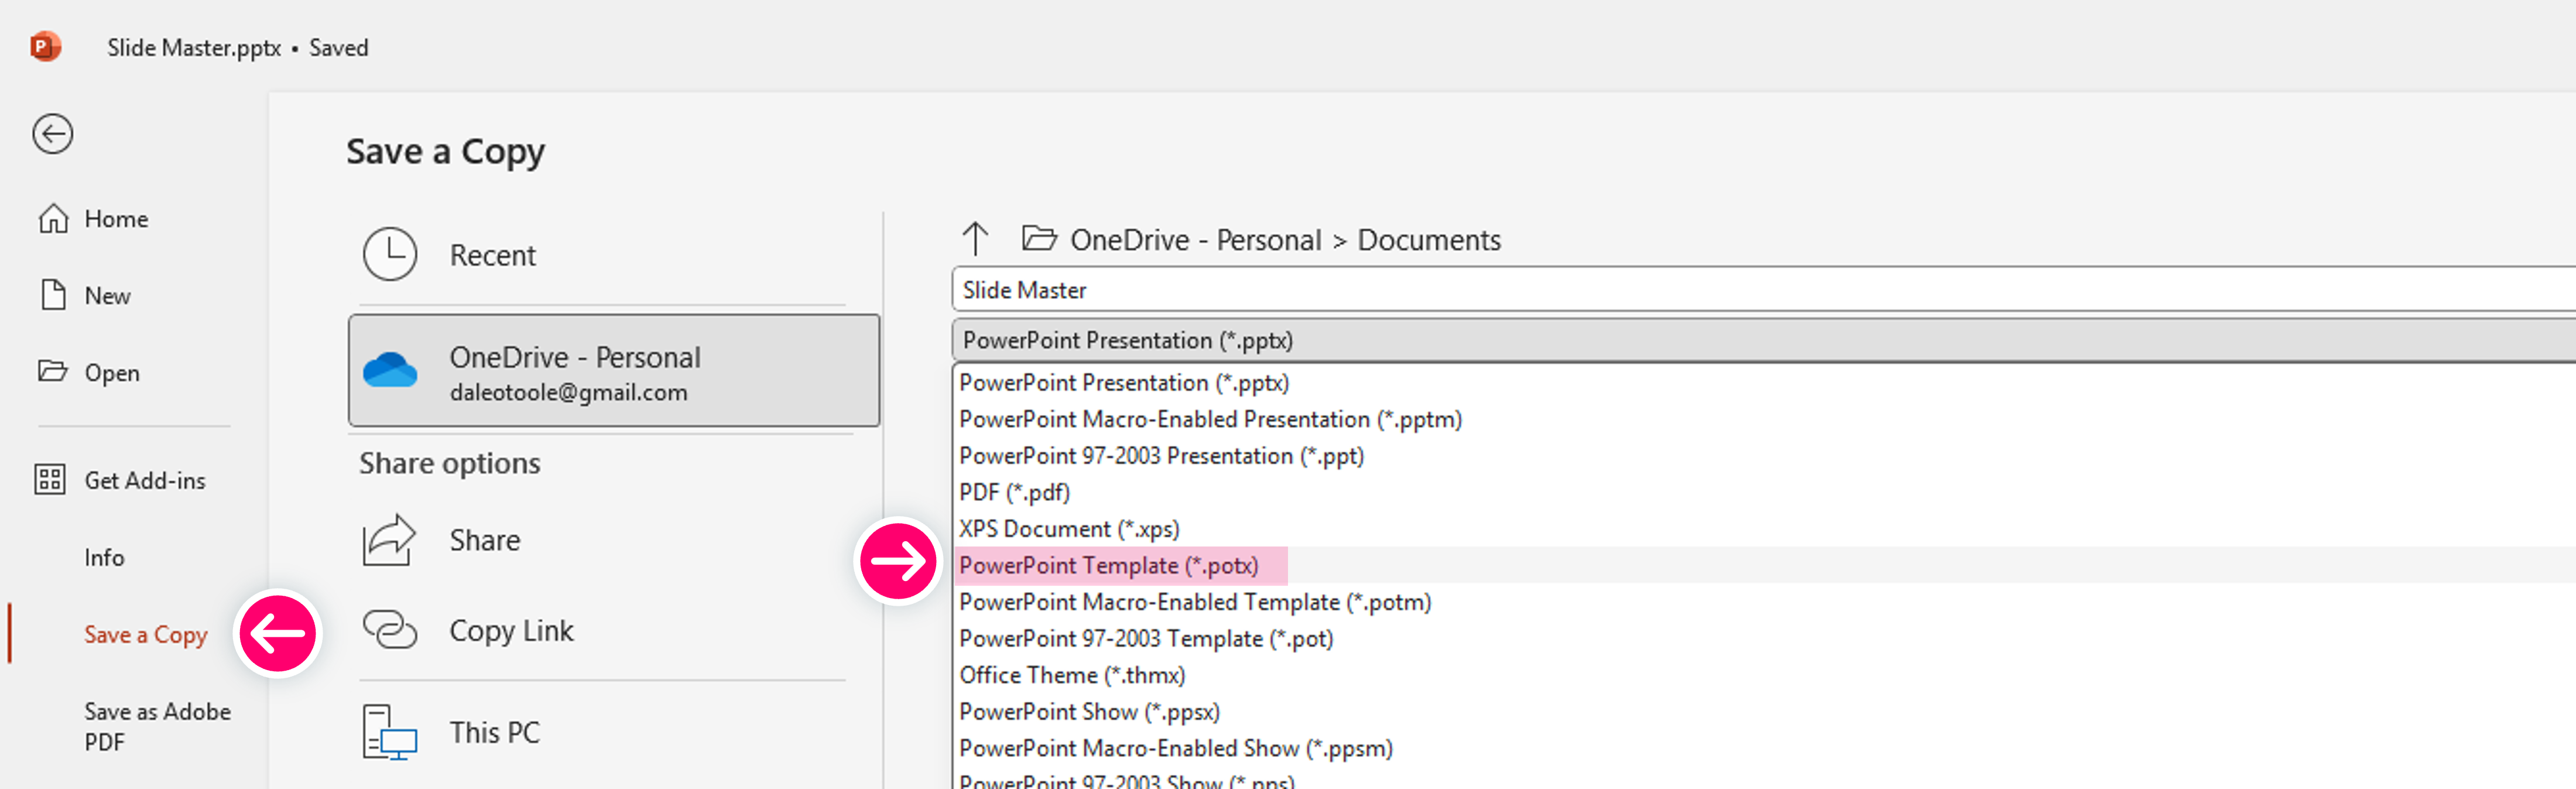
Click File > Save As (or Save a Copy).
Choose PowerPoint Template (.potx) from the dropdown menu.
Give it a snazzy name, like “My_Stunning_Template.”
Now, your customised masterpiece is just a few clicks away for your next presentation.
Why the Slide Master is Your BFF
Slide Master may seem intimidating at first glance, but it’s really just a shortcut to greatness. Once you’ve mastered it, you’ll wonder how you ever lived without it. You’ll save precious hours, maintain a polished brand image, and maybe even impress your colleagues with your newfound PowerPoint wizardry.
So next time you open PowerPoint, give Slide Master a try. With a bit of creativity, you’ll turn cookie-cutter slides into a cohesive, eye-catching presentation that wows your audience. Now, go forth and create with confidence!
Affiliate Link
Try Techsmith Camtasia to record your screen and edit videos, just as I do!